Bathroom makeover on a budget
When I moved into my condo, It was apparent that every room would need some love. However, I had to pick and choose which spaces would get completely renovated and which would get more of a cosmetic makeover. Ultimately, for my guest bathroom makeover, I decided not to replace the bath tile and tub and focus on what I could do to the rest of the space to give it a significant facelift. I am really happy with the outcome and excited to share it with you in this article! Enjoy.
1. Bathroom Makeover: Before
There's no keeping calm when your bathroom is decorated like a London frat house. This image reflects what the guest bathroom looked like when I moved in. There was really nothing about this bathroom that I wanted to keep, but for cost purposes, I decided that the white tiled walls in the bathtub and the bathtub itself could stay. That's because complete bathroom renovations are costly. Many labor hours and materials go into replacing a tub and tiles.
That leads me to step #1 of your design journey. Decide what, if anything, in the space can stay and what needs to change. Once you establish what needs to change, determine what would impact the room the most and focus on making it spectacular. This room is quite small, so I knew I couldn't fit a big, beautiful bathroom cabinet in it. That's when I decided the walls needed to be adorned with a stand-out wallpaper.
From there, every other design choice, such as the new cabinet, mirror, and light fixture, was based on what would complement the wallpaper.
Keep scrolling to reveal my bathroom makeover!

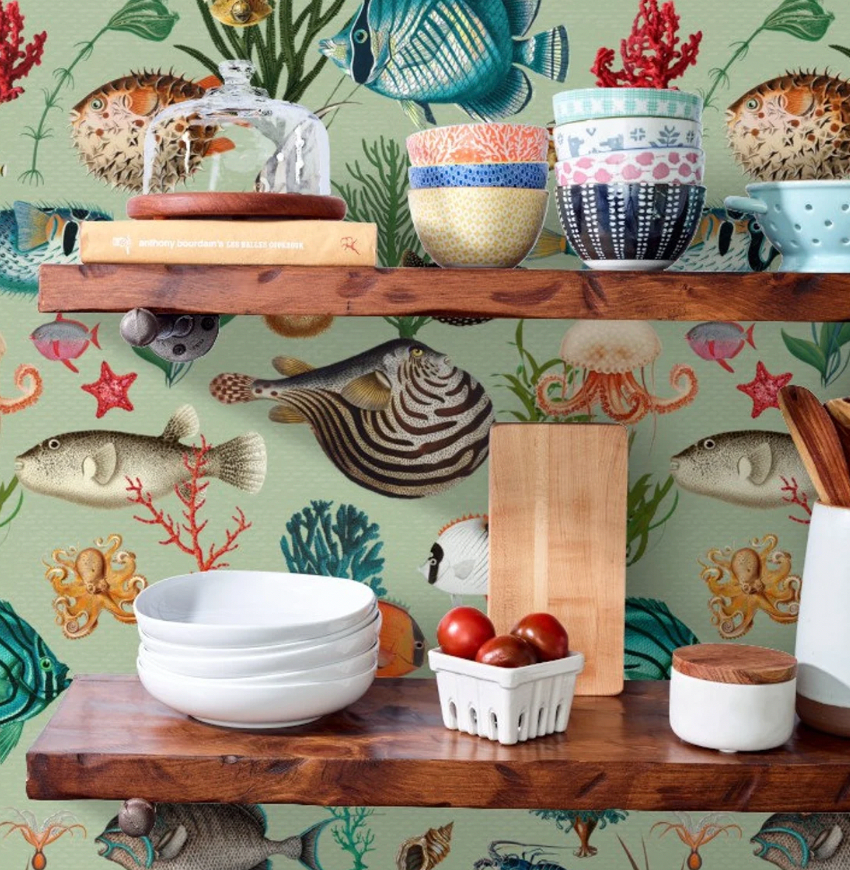
2. Bathroom Makeover: After
And just like that, an under-the-sea-themed bathroom for my condo in Miami Beach, FL. For this small space, I love the busy printed wallpaper. I feel it elevates the space and adds an element of surprise to my home, as all of the other rooms are painted white.
For the bathroom cabinet, I found this one for a relatively inexpensive price on Wayfair. I also downsized from a 24-inch wide to an 18-inch wide cabinet because it felt like a more appropriate size for the space. Sometimes proportions are off in homes because of the size of things like cabinets, islands, etc, so make sure you consider the size of things when you go to replace them.
As you can see, I also covered the floor tile with a luxury vinyl, which also created a huge improvement.
Lastly, replacing the accessories played a huge role in this bathroom makeover. This is because aside from the space being small, the original accessories were really outdated and lacked sophistication, to be honest. To find some trendy accessories for an affordable price I of course headed to Amazon where I purchased the lighting fixture, mirror, towel ring, and even the cabinet pulls.
My advice for your bathroom makeover is to have fun, make sure you have some storage for all of the “things” you need in there, and don't immediately feel the need to replace the expensive stuff if you can get away with improving everything else in the meantime. If you like this room and the things I put it in, you can shop them using the buttom below. I will also link some individual products to help make your life easier! Have a fun time designing!

Shop the products I used in this bathroom makeover!